Goals & campaigns
Goals let you measure outcomes instead of raw visits – sign-ups, purchases, contact-form submits, etc.
Create a goal
Open the site dashboard and click Site Goals or click Goals on any site card in the All Sites view.
Press Add goal.
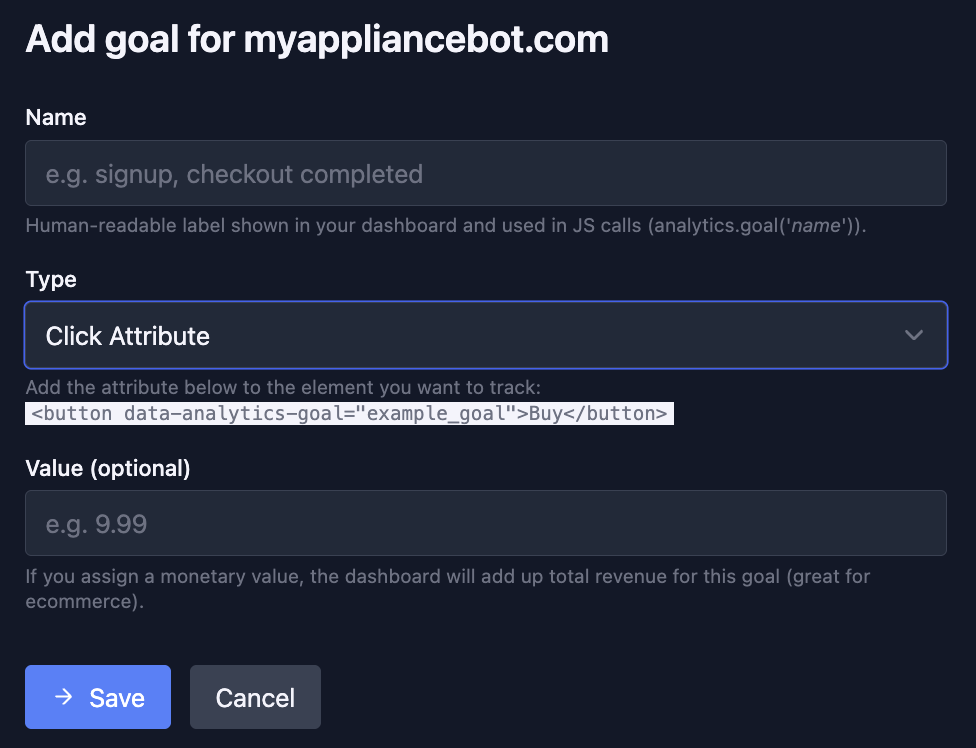
Fill in the form fields:
Name – human-readable label (also used as the JS identifier).
Type – three ways to trigger a goal:
- Manual / JS – call
analytics.goal('name')yourself when the action happens (great for custom logic). - Click attribute – add
data-analytics-goal="name"to a button or link and we’ll fire automatically on click. - URL match – fires when the page URL matches a rule (after a successful checkout for example).
- Manual / JS – call
Match type (only for URL goals) – contains, starts with or regex against the path part of the URL.
Pattern – the string or regex to match (e.g.
/thank-you).Value – optional monetary amount used to sum revenue in the dashboard (useful for e-commerce).
Press Save – it becomes active instantly and can be edited or deleted later.
 Goal creation
See goal conversions
Converted visitors appear in the Goals widget on the dashboard. Click any row to drill down:
- Conversion rate over time.
- Top referrers for that goal.
- Countries/devices for converters only.
Campaigns & UTM tags
If your links include standard utm_* parameters Lightweight Analytics groups
them automatically. Use the Campaigns tab to compare:
- Visitors & conversions per campaign.
- Revenue per campaign when your goals include values.
Tip
Goals + UTMs = instant ROI tracking. Add a URL goal for/thank-youand see which newsletter placement or ad brings paying customers.